Adding basic vision - Part 2 of Solving Puzlogic puzzle game with Python and OpenCV
In the previous post we looked into building a basic solver of the Puzlogic puzzle. Now let’s take a look at creating the Vision component of the bot.
The vision component needs to be able to:
- Identify the game board, which cells are already filled in, which ones may have pieces placed into them;
- Identify the set of available pieces a level provides;
- Identify values of the available pieces and filled-in game cells.
Planning
As before, we’ll use OpenCV for vision, mss for taking screenshots of the window, and Pillow (fork of PIL) to convert screenshots into OpenCV compatible images.
For character recognition of piece values we’ll use Pytesseract bindings for Tesseract.
We’ll implement get_game_board(), get_cells() and get_pieces() public methods, as well as a way to OCR piece values.
Taking screenshots
Let’s start by building an easier way to campture screenshots of the window.
import cv2
import numpy as np
import time
import pytesseract
from PIL import Image
from mss import mss
from collections import namedtuple

class ScreenshotSource:
    def __init__(self):
        self.monitor = {'top': 0, 'left': 0, 'width': 1920, 'height': 1080}
        self.screen = mss()
        self.image = None

    def get(self):
        if self.image is None:
            self.image = self.refresh()

        return self.image
Here I’m hardcoding the monitor’s dimensions to 1920x1080 - the common Full HD screen. It would be better to pass it in as a constructor argument, but for now that’ll do.
get method will be used to return the screenshot for further processing. It will be taking the screenshot of the full screen, including OS toolbars, browser window and hopefully game window.
Image itself will get cached for improved performance until we actually need to refresh the frame.
def refresh(self):
    source_image = self.screen.grab(self.monitor)
    rgb_image = Image.frombytes('RGB', source_image.size, source_image.rgb)
    rgb_image = np.array(rgb_image)
    bgr_image = self.convert_rgb_to_bgr(rgb_image)

    return bgr_image

def convert_rgb_to_bgr(self, img):
    return img[:, :, ::-1]
We take a screenshot with mss, convert the binary output to RGB with PIL, then convert the RGB (Red, Green, Blue) image into BGR (Blue, Green, Red) color space.
This is important, as OpenCV internally works with BGR images.
RGB to BGR conversion works by keeping X and Y coordinates the same (first two arguments), but reversing the order of the third timension, turning RGB values into BGR.
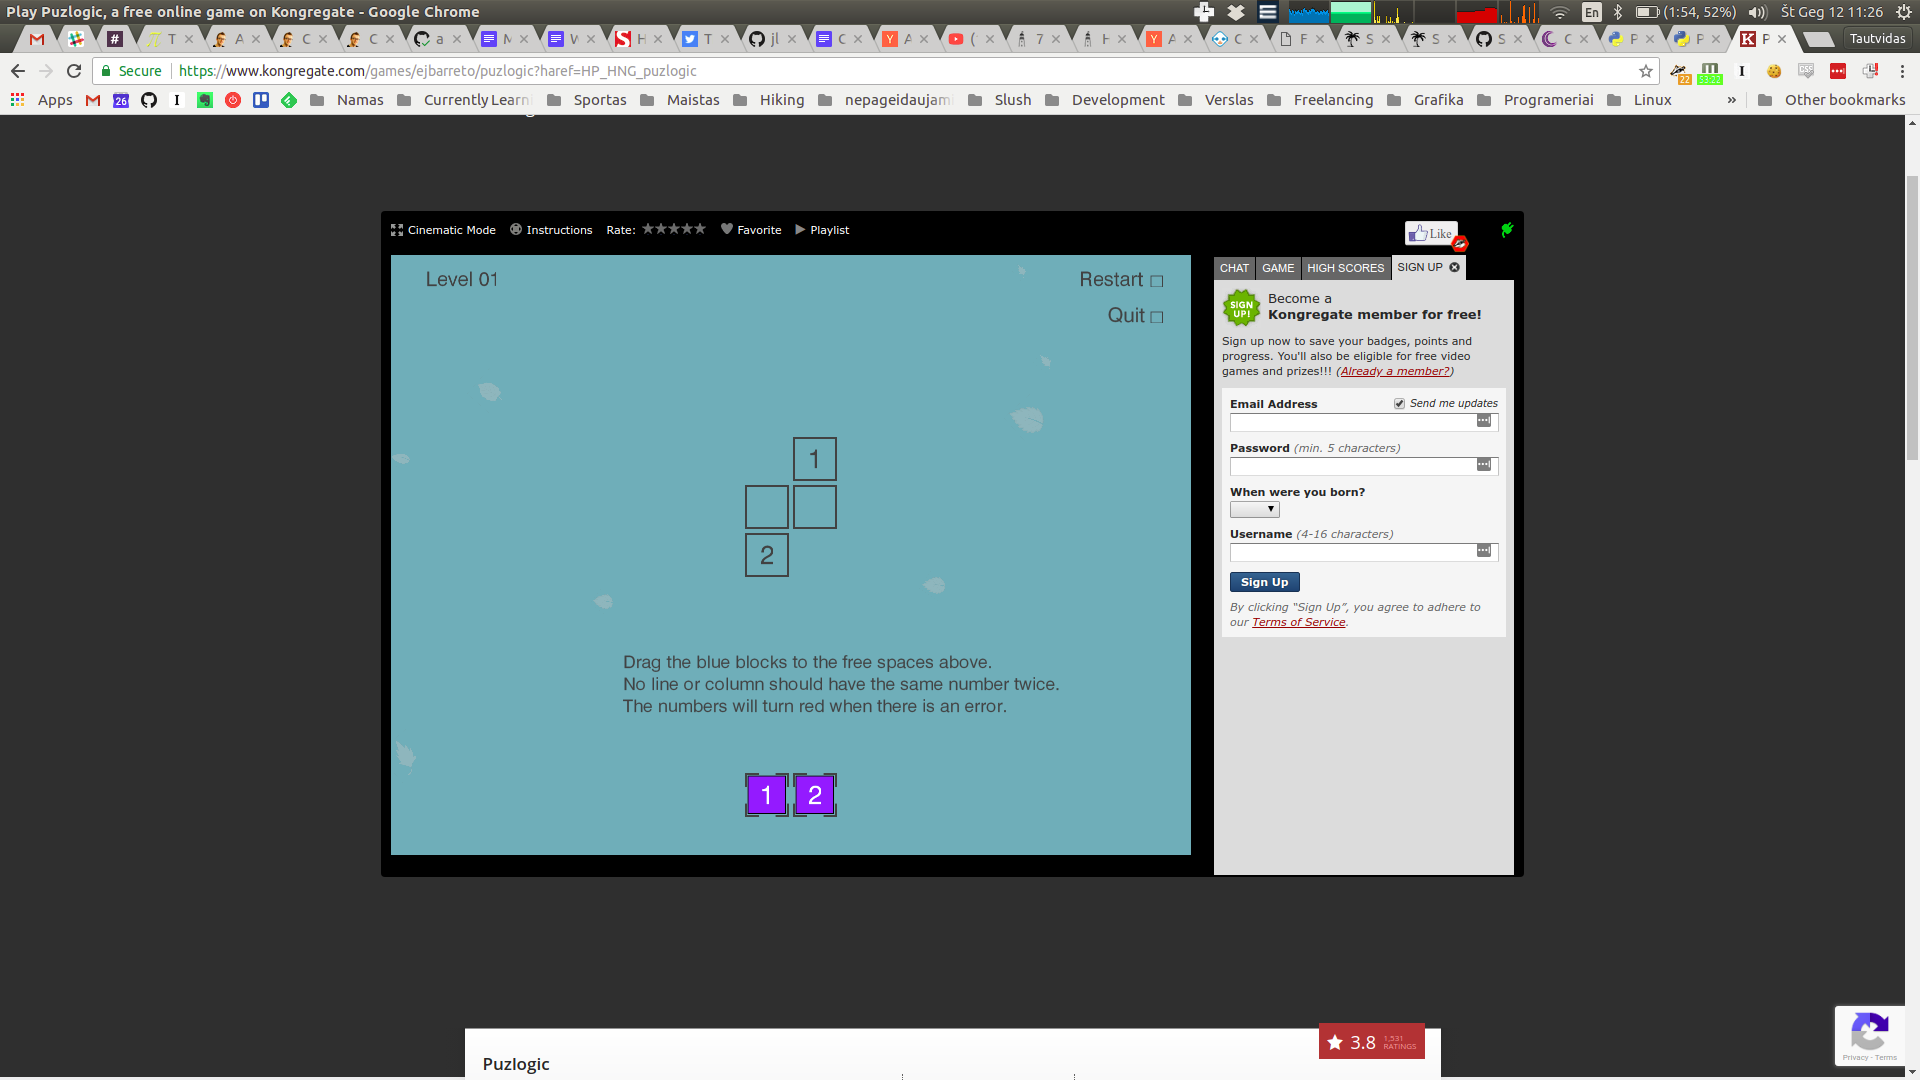
Finding game area
Now that we have the screenshot in bot’s memory, we can start by identifying where within the window game area is.
class Vision:
    def __init__(self, source):
        self.source = source

    def get_game_board(self):
        """ Detects the game window area within a computer screen """

        screen_image = self.source.get()
        original_screen_image = screen_image.copy()
        grayscale = cv2.cvtColor(screen_image, cv2.COLOR_BGR2GRAY)

        # Find black background around the game screen
        ret, mask = cv2.threshold(grayscale, 1, 255, cv2.THRESH_BINARY)
        binary_grayscale = cv2.bitwise_not(mask)

        # Eliminate noise and smaller elements
        kernel = cv2.getStructuringElement(cv2.MORPH_CROSS, (3, 3))
        dilated = cv2.dilate(binary_grayscale, kernel, iterations=1)

        _, contours, _ = cv2.findContours(dilated, cv2.RETR_LIST, cv2.CHAIN_APPROX_SIMPLE)

        Board = namedtuple('Board', ['x', 'y', 'w', 'h', 'screen'])

        for contour in contours:
            # get rectangle bounding contour
            [x, y, w, h] = cv2.boundingRect(contour)

            # Discard small pieces, we're looking for a game window roughly 800x600
            if w < 700 or h < 500 or w > 800:
                continue

            cropped = original_screen_image[y:y+h, x:x+w]

            return Board(x, y, w, h, cropped)

        return False
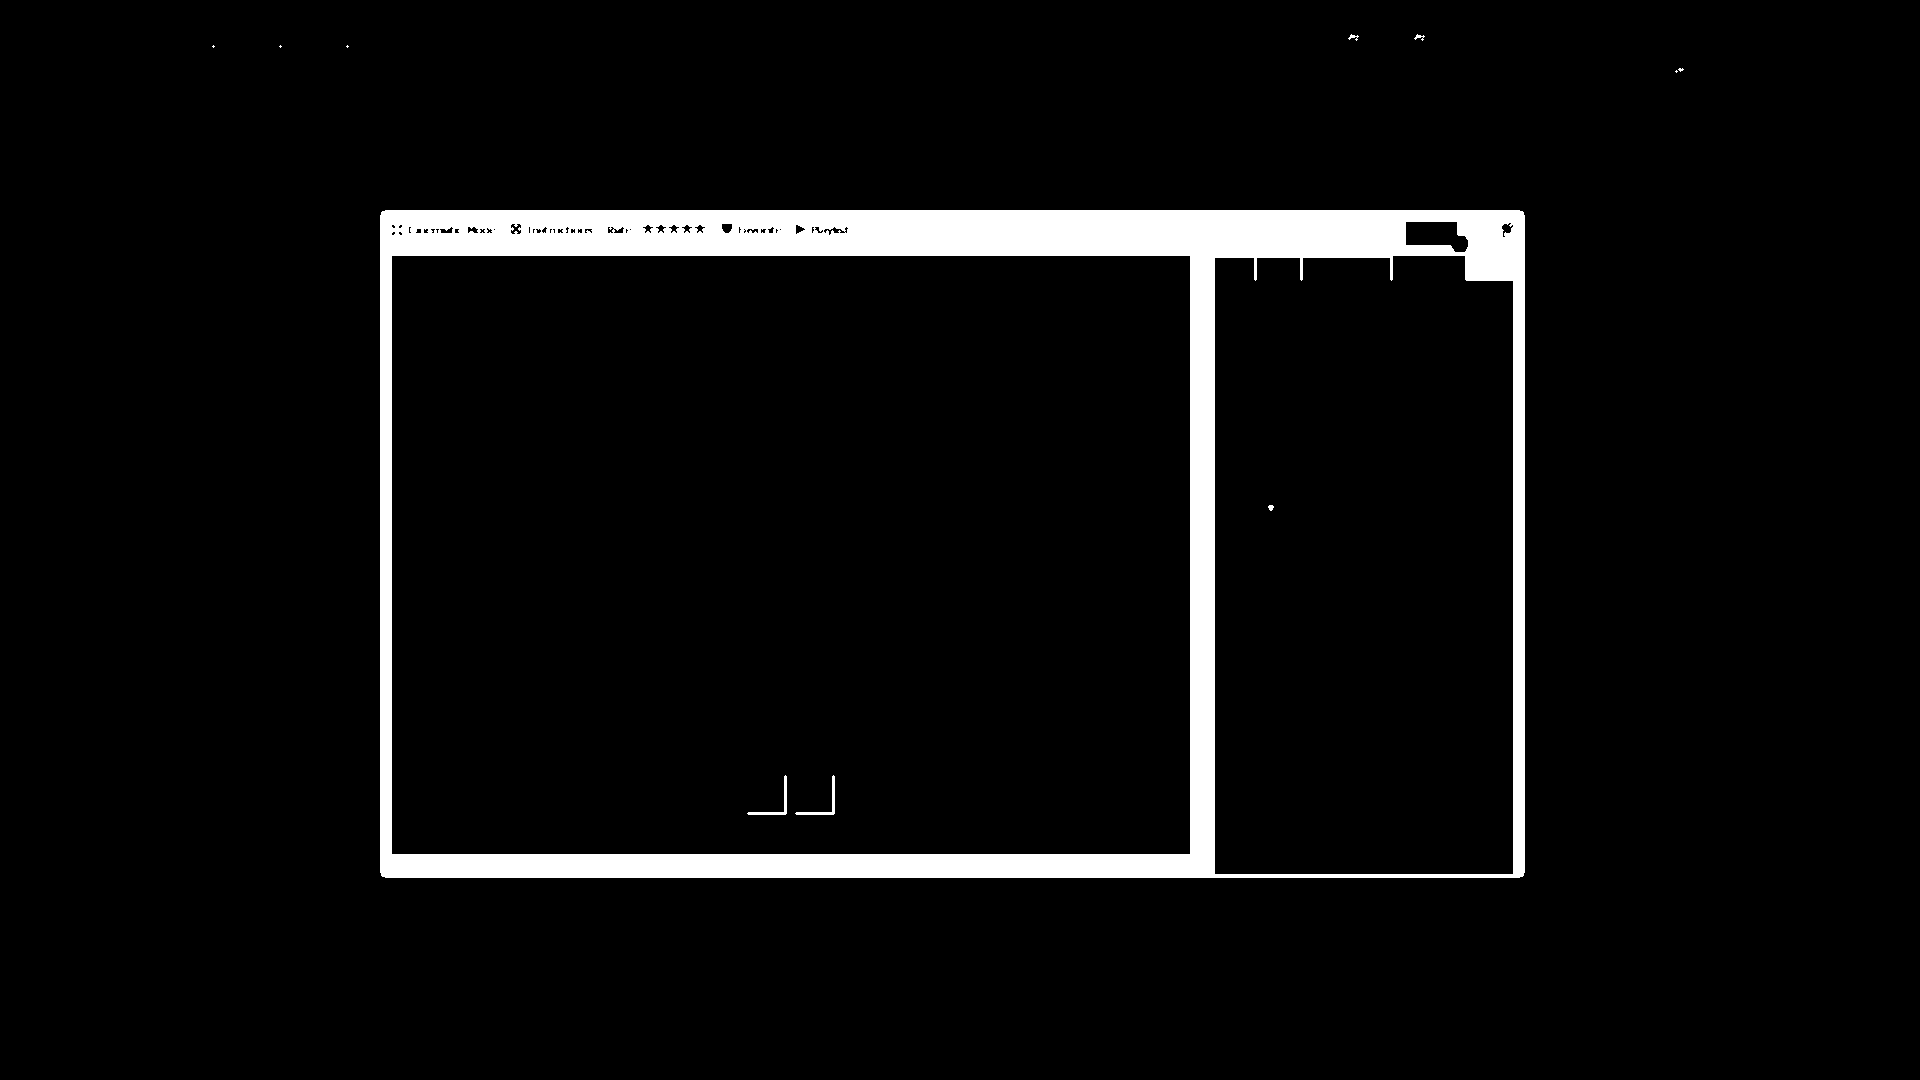
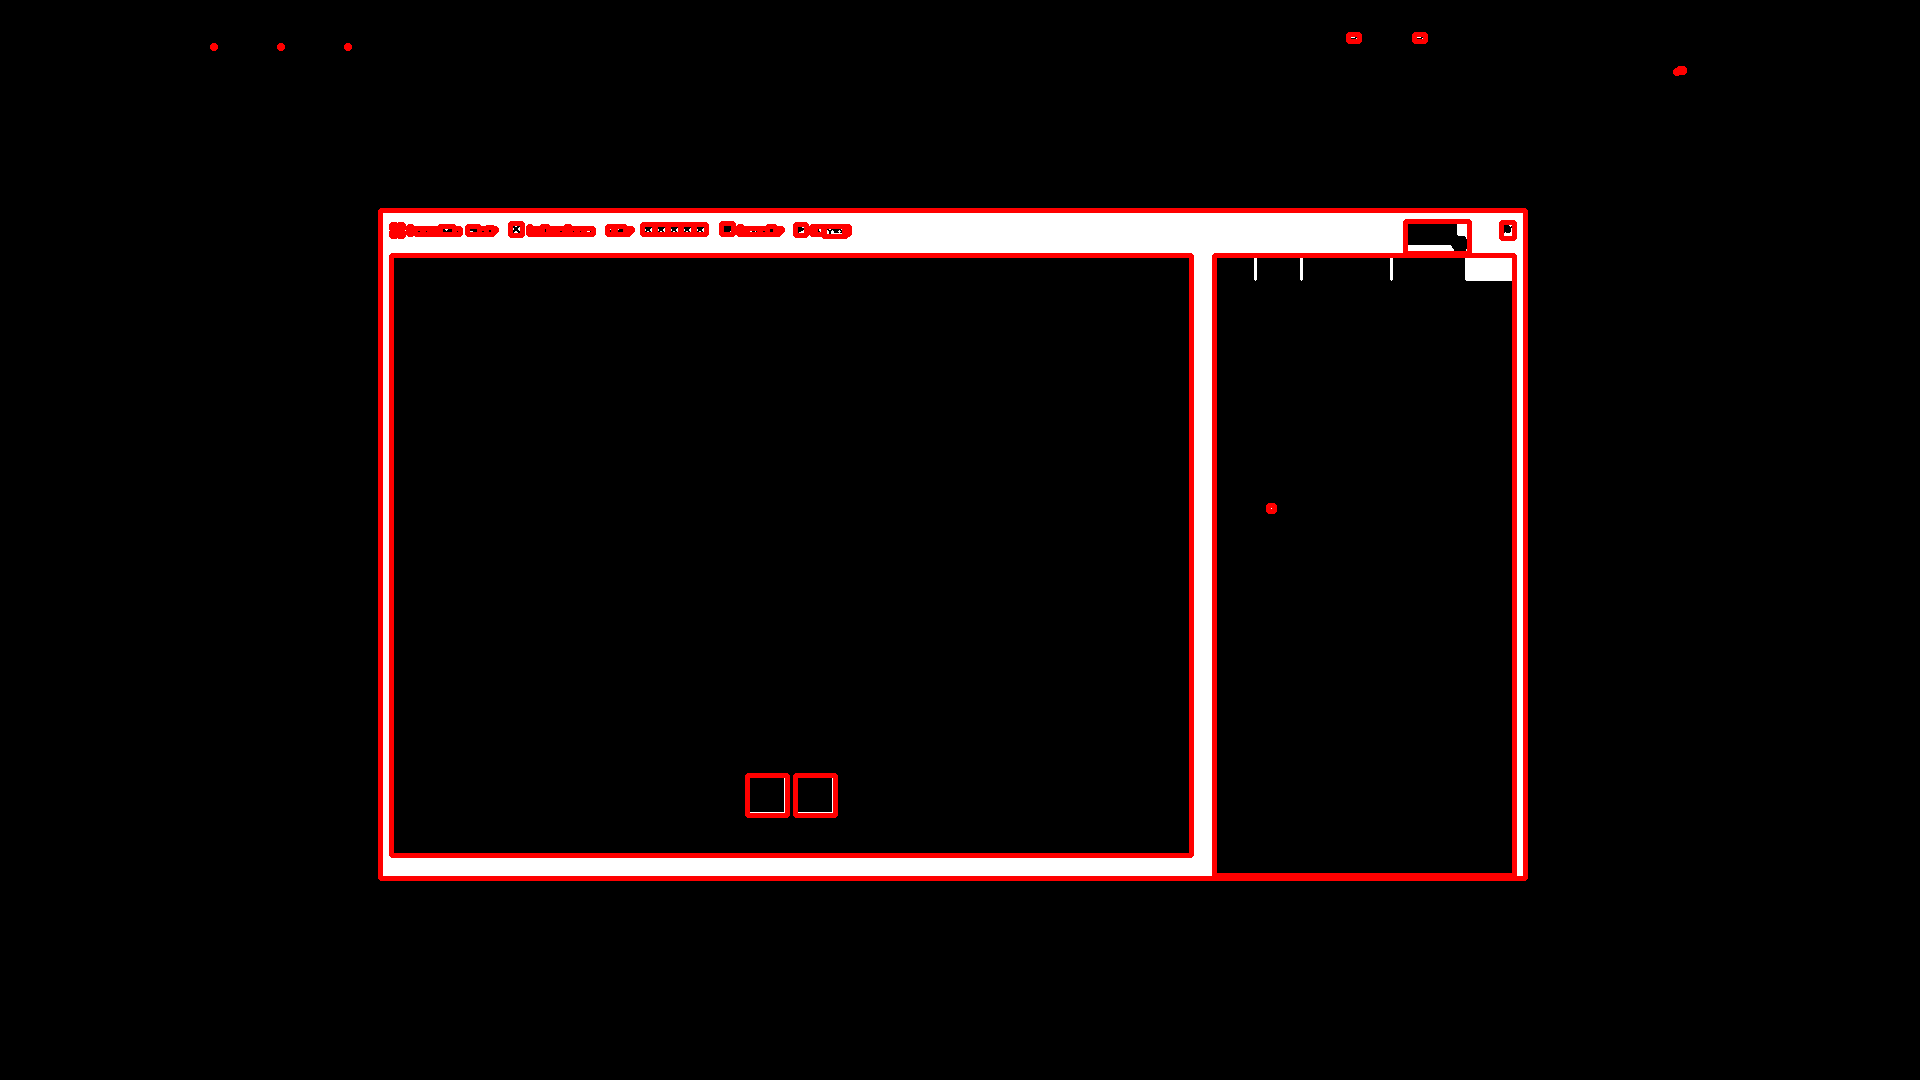
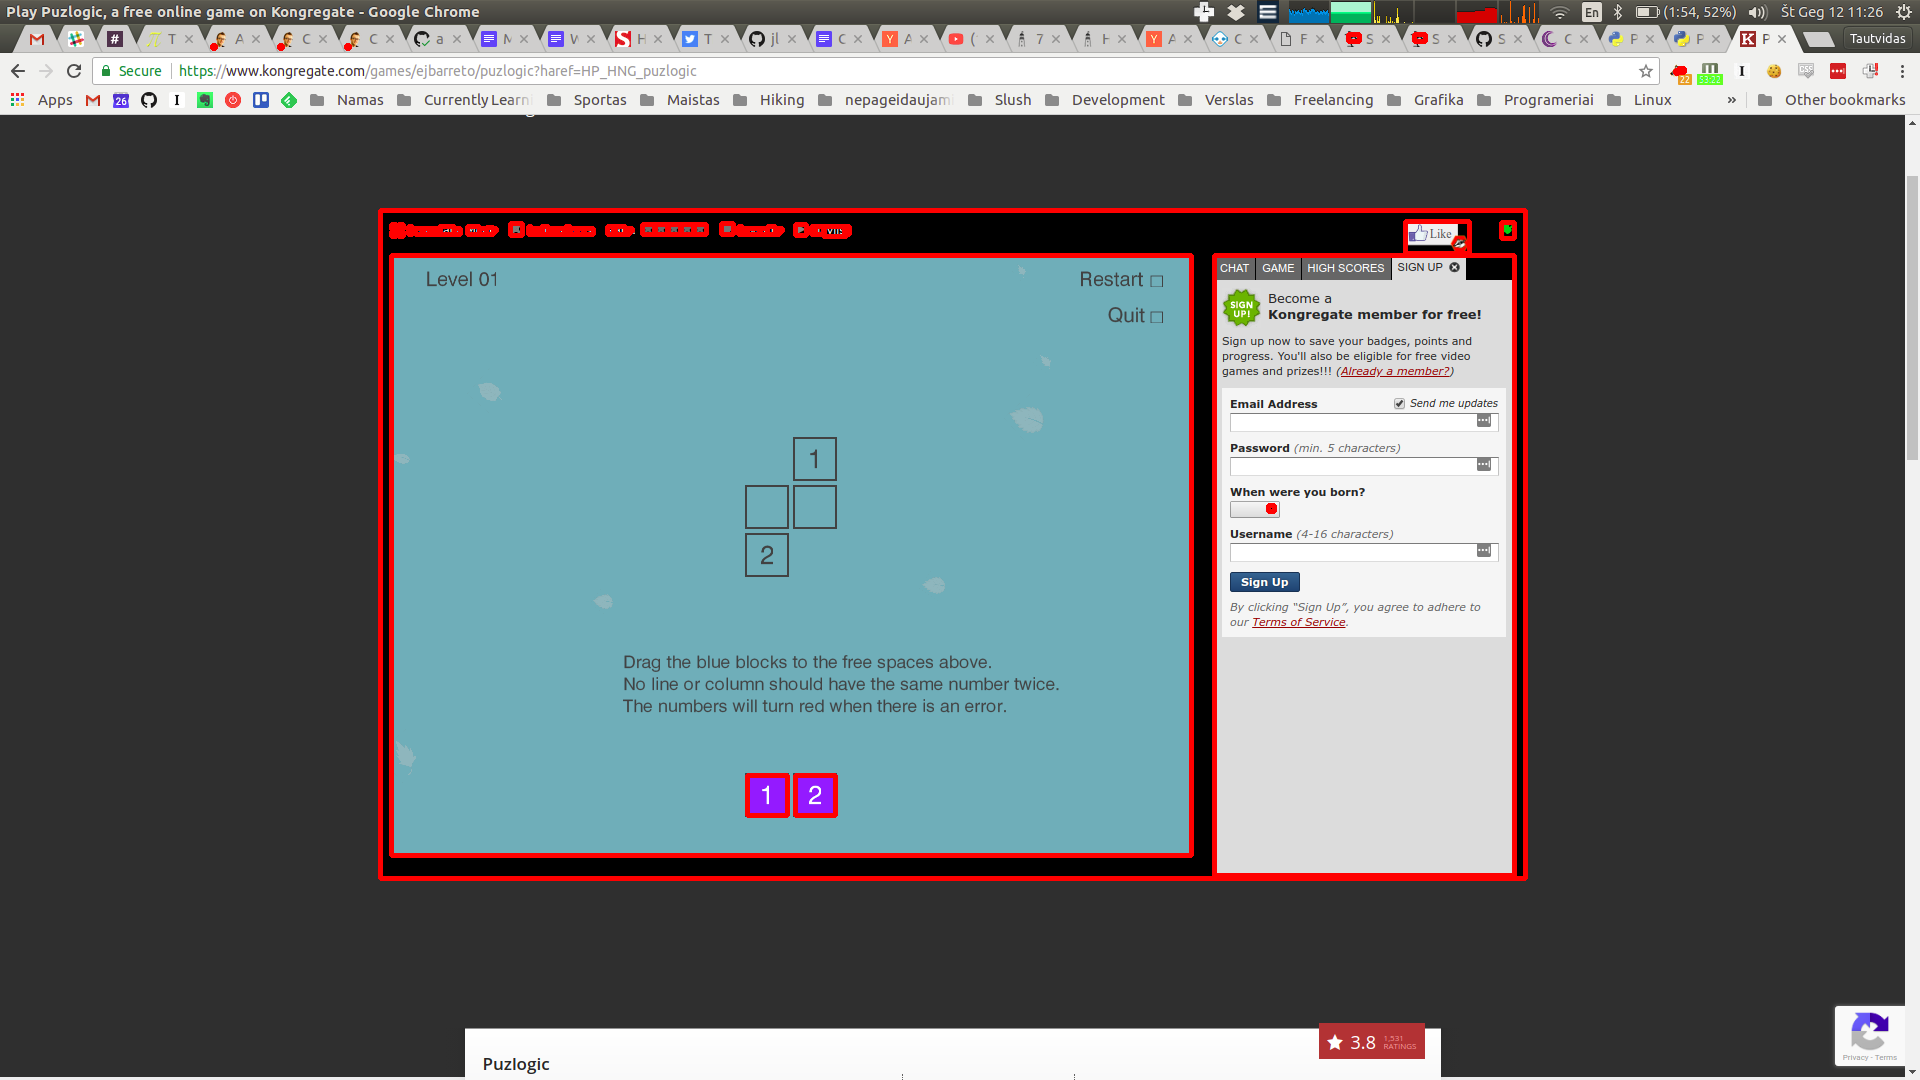
The basic idea is to turn the image into binary grayscale for easier management (pure white or pure black, turns the 3D array into 2D one), run a dilation kernel on the full image to eliminate smaller elements and noise (as that increases the number of contours), and then look for a rectangular contour that is close in size to the target game area (800x600 px).
-
We start with the original image.
-
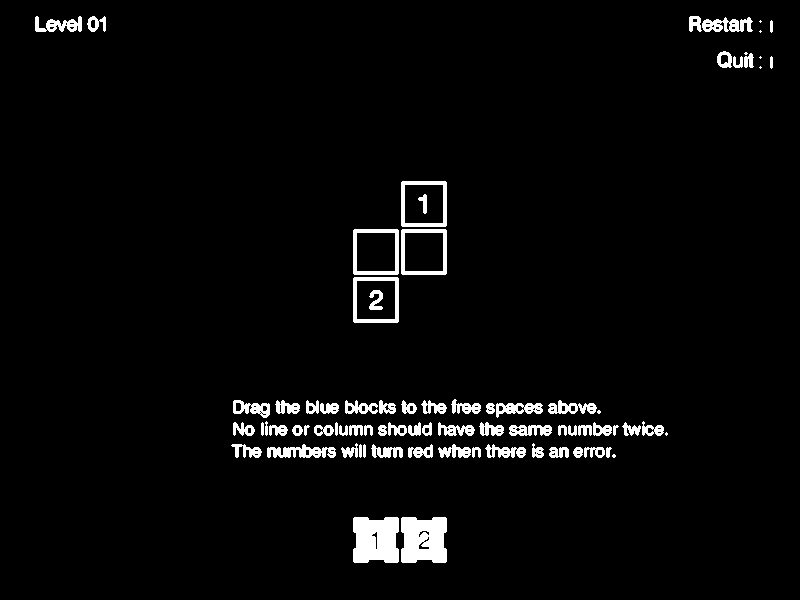
Turn the image to grayscale color space.

-
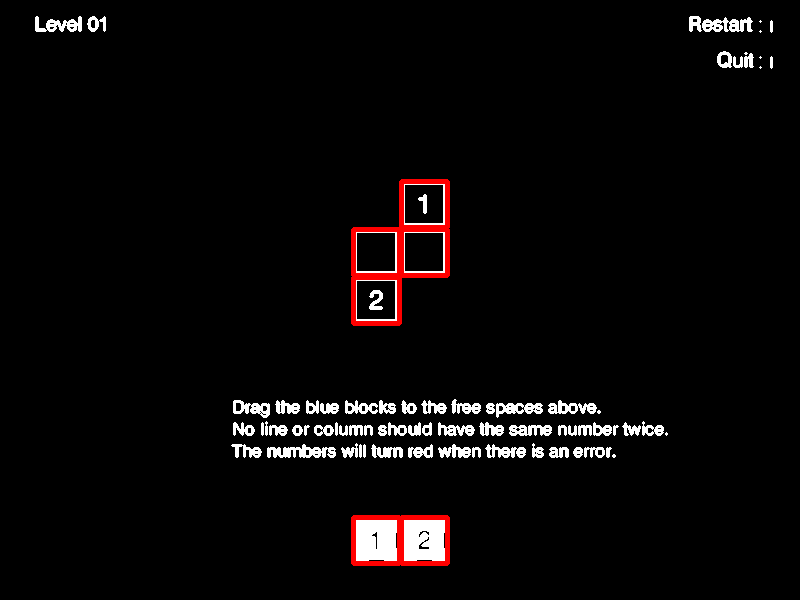
Further simplify the image to binary grayscale, doing so eliminates most of the tiny details.

-
Dilation further decreases the size of small details. Now we can start looking for contours.
-
As you can see, it finds quite a few contours, that’s why I tried to simplify the image as much as possible.
-
Further filtering by bounding box’s dimensions allows to identify the game screen, as pictured above.
-
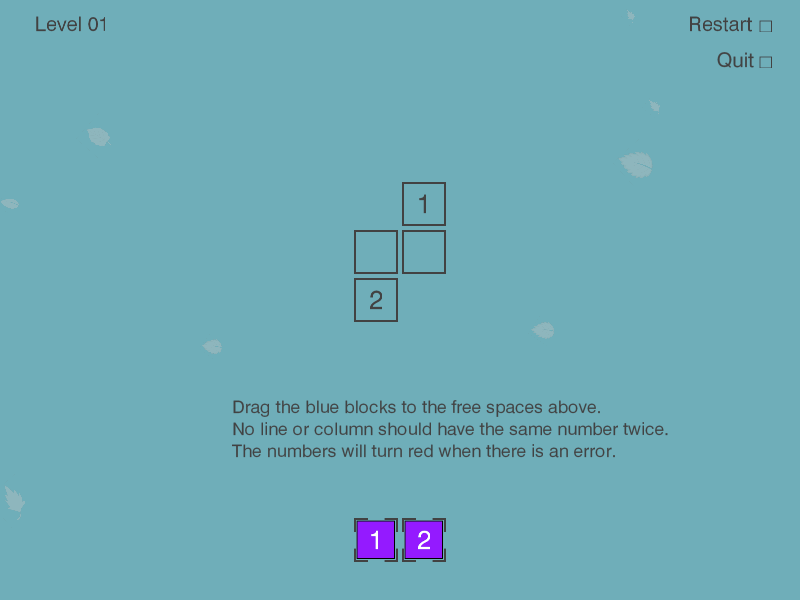
And here it is cropped to a useable image for further processing:

The final result for this image is: Board(x=391, y=255, w=800, h=600, screen=np.array(..., dtype=uint8))
Lastly, for future processing we take only the area that actually is the game screen. We can ignore the rest of the screen for vision purposes, but we still have to keep in mind offsets of the game area to allow us control mouse movements later.
Finding all cells
Now that we have the game area as a cropped image, we can start looking for game cells within it. Both the game board (are where game pieces should be placed), as well as the pieces themselves are squares of a similar size, just colored slightly differently. So we can write the same method to look for all cells, and then separate target cells from game pieces.
The pattern is similar:
- Convert image to binary grayscale
- Dilate to eliminate some of the noise
- Find all contours, filter them to ones roughly matching the target size
def get_visible_cells(self):
    board = self.get_game_board()

    grayscale = cv2.cvtColor(board.screen, cv2.COLOR_BGR2GRAY)

    ret, mask = cv2.threshold(grayscale, 100, 255, cv2.THRESH_BINARY)
    binary_grayscale = cv2.bitwise_not(mask)

    # Erase smaller artifacts on screen, hopefully leaving only
    # larger contours to detect.
    kernel = cv2.getStructuringElement(cv2.MORPH_CROSS, (3, 3))
    dilated = cv2.dilate(binary_grayscale, kernel, iterations=1)

    _, contours, _ = cv2.findContours(dilated, cv2.RETR_EXTERNAL, cv2.CHAIN_APPROX_SIMPLE)

    Cell = namedtuple('Cell', ['x', 'y', 'w', 'h', 'content'])

    # [x, y, w, h, img]
    bounding_boxes = map(lambda c: list(cv2.boundingRect(c)), contours)
    candidates = filter(lambda b: 40 < b[2] < 60 and 40 < b[3] < 60, bounding_boxes)
    cells = map(lambda c: Cell(c[0], c[1], c[2], c[3], self._recognize_number(board.screen[c[1]:c[1]+c[3], c[0]:c[0]+c[2]])), candidates)
    return list(cells)
I’ve set contour sizes for cells to be bigger than 40px, but smaller than 60px. It was done mostly by trial and error. I think the actual size of the game piece is around 48px, but the game cell is slightly bigger, and we’ve done some dilation as well.
To calculate cells, we crop the source image based on coordinates of the countour’s bounding box, taking box’s width and height into account.
Note that here I’m also using self._recognize_number(...) call, which does OCR of cell’s contents, turning it into an actual number, or returning False. We’ll get to it in a minute.
-
It all starts with the full game screen.
-
This is how it looks like after turning the image into a binary grayscale image with some dilation. You can see that most of the details have been almost eliminated.
-
We find all contours and filter them based on expected contour dimensions. After some trial and error that leaves only the cells.
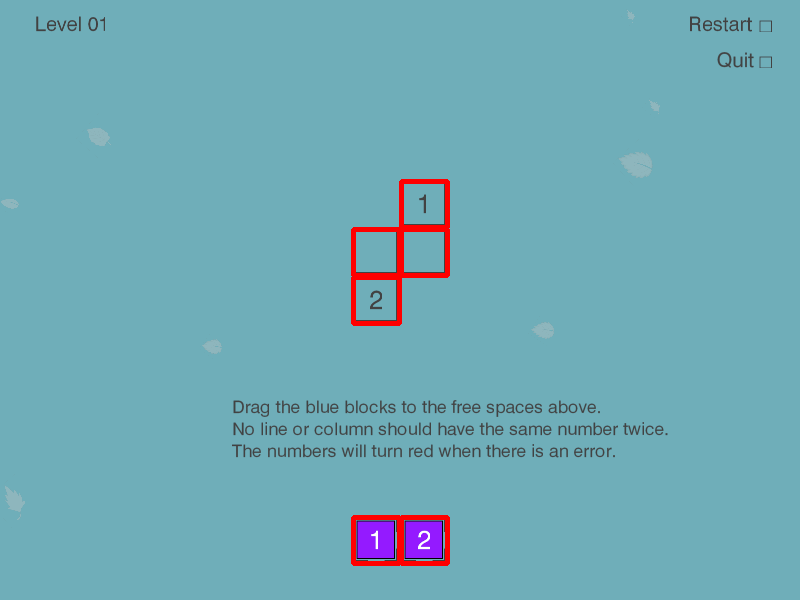
Method’s result for this picture is:
[
  Cell(x=401, y=517, w=46, h=46, content=2),
  Cell(x=353, y=517, w=46, h=46, content=1),
  Cell(x=353, y=277, w=46, h=46, content=2),
  Cell(x=401, y=229, w=46, h=46, content=False),
  Cell(x=353, y=229, w=46, h=46, content=False),
  Cell(x=401, y=181, w=46, h=46, content=1)
]
You can see that it was able to find all game board cells as well as all game pieces.
Finding game pieces
Now that we have all the cells identified, we can use this information to figure out which ones are game cells.
On different maps there may be different number of pieces provided in different arrangements, e.g. two rows with different number of pieces, two rows with same number of pieces, one row of pieces.
The common theme I saw in the first few levels was there were at most 2 rows of pieces, so I’ll assume the same will hold for all levels in the game. The other nice thing is that the distance between the lowest game board cell and the highest piece is fairly big, which we can use to differentiate cells from pieces.
Based on that information, we can find the lowest cell in the set of cells and assume that it is actually a game piece. Furthermore, I’ll assume that anything vertically within 3 cell heights of the lowest cell is also a piece.
def get_pieces(self):
    cells = self.get_visible_cells()
    lowest_cell = max(cells, key=lambda c: c.y)

    # Expect available pieces to be lower than the lowest row of game board cells
    return list(filter(lambda c: abs(lowest_cell.y - c.y) < lowest_cell.h*3, cells))
With the original image this method will return:
[
  Cell(x=401, y=517, w=46, h=46, content=2),
  Cell(x=353, y=517, w=46, h=46, content=1)
]
Finding game board cells
Now that we have identified which cells are actually movable pieces, any other cell must then be a game board cell!
def get_cells(self):
    cells = self.get_visible_cells()
    pieces = self.get_pieces()

    return list(set(cells) - set(pieces))
Result of this method would be:
[
  Cell(x=401, y=181, w=46, h=46, content=1),
  Cell(x=353, y=229, w=46, h=46, content=False),
  Cell(x=353, y=277, w=46, h=46, content=2),
  Cell(x=401, y=229, w=46, h=46, content=False)
]
Recognizing digits within cells
Above we identified some cells, which may be game board cells, or game pieces. So the cell may contain a number, or it may not.
The procedure is similar to what we’ve done before, but there are some differences.
For OCR we will use Pytesseract bindings for Google’s Tesseract. Tesseract works best when we feed in images containing just black text on white background with as little noise and unnecessary elements as possible.
Due to that the first step is to remove the black border around the cell that some cells may have, as I found it would be easier for OCR to reliably recognize the digit.
Next the image needs to be converted to binary grayscale, as the cell may contain other colors (like purple background of the piece, colored background of the cells). At this point we should have either black text on white background, or white text on black background.
Previous steps may have made edges of any digits a little pixelated, so blurring the image should make the digit more solid and slightly bigger, giving a better chance for OCR to recognize it.
Last step before feeding the image to OCR, we need to make sure the image contains black text on white background. I tried feeding in white text on black background, but it didn’t work well, and at this point the image may contain black text on white background or vice versa.
To make sure the image is actually white text on black background, we check the color of the first pixel. If it is white (has a value of 255) - I assume that it’s black text on white background.
But if the pixel is black (has a value of 0), then I assume it’s white text on black background, so we have to invert image’s colors.
Lastly we feed in the image to pytesseract and attempt to convert the result into an integer. The --psm 10 argument for Tesseract instructs that the image should contain just a single character inside.
In other modes I found that Tesseract returned mostly unusable garbage.
def _recognize_number(self, candidate_tile_image):
    """ Attempts to OCR the number within a game tile image """

    borderless_image = candidate_tile_image[5:-5, 5:-5]
    grayscale = cv2.cvtColor(borderless_image, cv2.COLOR_BGR2GRAY)

    ret, mask = cv2.threshold(grayscale, 100, 255, cv2.THRESH_BINARY | cv2.THRESH_OTSU)
    binary_grayscale = cv2.bitwise_not(mask)

    # Blur to help text show up better for OCR
    ocr_image = cv2.medianBlur(binary_grayscale, 3)

    if ocr_image[0, 0] == 0:
        # OCR needs black text on white background
        black_text_on_white_background = cv2.bitwise_not(ocr_image)
        ocr_image = black_text_on_white_background

    # Use single-character segmentation mode for Tesseract
    character = pytesseract.image_to_string(ocr_image, config='--psm 10')
    try:
        return int(character)
    except:
        return False
-
We start with the image of an isolated cell of the original game screen

-
This is how the cell looks like after turning it into a binary grayscale image and removing its borders. Note that background disappears as well.

-
Here’s how the image looks like after slight blurring. The digit looks slightly bolder, but it seems for this image blurring may not have been all that necessary.

-
Because the image was white text on black background, the last step was to invert the colors and feed the resulting black-on-white image into Tesseract for OCR.

And here is the final result of the method is: 1. A parsed integer digit.
Performance tuning
Now that we have most of the basic vision done, we can run some tests on the actual game, and it does work. However, when performing such commands in rapid succession, it may take in the region of 10 seconds on my machine for all calls to respond.
Mostly because some calls use others, so there’s quite a bit of unnecessary re-processing happening. To improve the situation we’ll add basic caching: cache results of each class method for the given frame, clear out the cache on the next frame.
For caching I’ve used decorators. Set a cache property dict on the object, adding return values to the cache when computation happens.
def cache_until_refresh(func):
    def wrapper(self):
        if func in self.cache:
            return self.cache[func]

        result = func(self)
        self.cache[func] = result
        return result

    return wrapper

class Vision:
    def __init__(self, source):
        self.source = source
        self.cache = {}

    def refresh(self):
        self.cache = {}
        self.source.refresh()

    @cache_until_refresh
    def get_game_board(self):
        # ...

    @cache_until_refresh
    def get_pieces(self):
        # ...

    @cache_until_refresh
    def get_cells(self):
        # ...

    @cache_until_refresh
    def get_visible_cells(self):
        # ...
Now instead of having to wait for full results 10 seconds, the response comes in under 2.
Closing thoughts
So now we have a basic way to identify the game area, know which pieces are available, where are the target cells for game pieces, as well as which number each cell has.
Of course, the methods used above are quite brittle, at least as implemented here. Changes in UI, scaling, adding more complex or just other elements may easily break the bot. But, you can also see how powerful these simple-once-abstracted techniques are: convert to grayscale, dilate/blur, find contours/bounding boxes and one can identify objects without providing a reference picture of it. A more sophisticated approach than image pattern matching in Burrito Bison bot I wrote about previously.
If you are interested in the full code mentioned in this post, you can find it on Github - vision.py. The full project’s code, possibly in a further state of the project, can be found on Github - flakas/puzlogic-bot
In the next post we’ll look into adding Mouse controls and tying it all together to get the bot to actually solve several puzzles. A demo video shall follow too.
Subscribe via RSS